


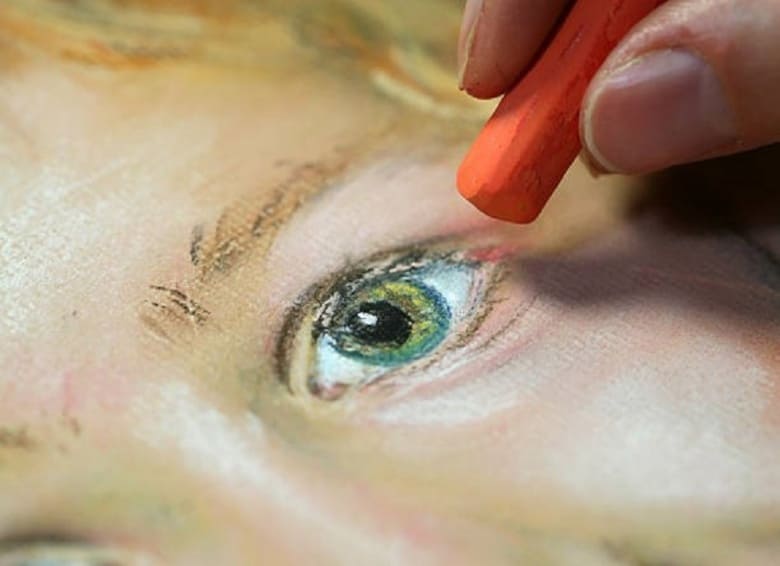
Oil pastels are a wonderful artistic medium for both novice and experienced artists. Their powdered pigment and oil blend helps to create bold, rich colors that glide smoothly across the paper. Because oil pastels are thicker than regular pastels or colored pencils, they are also quite forgiving for those just starting out in the world of visual arts.
Read on as we explore the basics of working with oil pastels and provide step-by-step instructions for six simple yet beautifully artistic drawings that anyone can tackle. From landscapes to still life or portraits to abstract works, these well-designed oil pastels for beginners’ projects will help anyone obtain confidence in their abilities to use oil pastels creatively.
Understanding Oil Pastels
Oil pastels are sticks of dry pigment blended with a binding of vegetable oil. Unlike wax-based pastels, oil pastels have a soft, buttery texture that glides smoothly across paper. The oil binder allows oil pastels to blend easily to produce vibrant colors. Artists can layer and blend oil pastel drawing shades to create rich color gradations. Oil pastels also have excellent opaque covering power, so it’s easy to cover mistakes.
While blending is one of oil pastels’ biggest advantages, it can also be a limitation. Because the pigment sits on the paper’s surface, blended areas are susceptible to smudging if not fixed with a workable fixative. Oil pastels also have less longevity than other fine art media, as exposure to heat and light can cause colors to fade over time.
For beginners, oil pastels are forgiving to work with and allow artists to focus on color mixing and techniques. Their buttery texture mimics the look and feel of oil paints while being easier to control.
Getting Started With Oil Pastels
The essential materials needed to get started with oil pastels are simply oil pastels and paper. Canson’s Mi-Teintes oil pastel paper is ideal for beginners as it accepts layers of color wonderfully. Having a set of at least 12 assorted colors will let you create a variety of blending and textures.
Start preparing your surface by laying a sheet of paper on a sturdy drawing surface like a clipboard or table. Open your oil pastels and arrange the colors you plan to use within easy reach. You can blend oil pastels directly on the paper by layering and rubbing colors together with your fingers or the side of the pastel. You can also blend on a palette first before applying to paper.
Basic techniques include blending on the page by layering one color over another and rubbing them together. You can also layer colors on top of each other to build depth and textures. Try experimenting with everything from light, feathery strokes to heavy pressure for bold markings and patterns.
 Six Amazing Drawing Ideas for Beginners
For any beginner interested in learning oil pastel techniques, we have some ideas for you. Here are six amazing oil pastel artwork ideas to get started with this versatile medium:
1. Landscape Drawing
A beautiful landscape makes for an inspiring first drawing. Start with a simple scene using basic shapes. Draw the basic outline of hills, trees, and other elements. Then, use oil pastels to block in broad washes of color — the sky blue at the top, layering greens for grass and trees, and earth tones for hills and ground. To blend colors, try the following approach:
- Use the side of the pastel to softly sweep across the edges.
- For trees, use light greens at the tops, blending to darker at the bottoms.
- Add darker accents for tree trunks.
- Blend yellows, oranges, and browns into the grass to suggest sunlight.
- Layer brown and green pastel strokes over the hills to build up texture and shadows on the sloping sides.
- Blend it all together for a cohesive painting.
- Experiment with leaving some parts lighter to make points of interest stand out.
2. Still Life Drawing
Set up a still life with 3-5 everyday objects that have interesting shapes, textures, and shadows. Fruits like apples or oranges work well. Vary the lighting as direct sunlight will give dramatic shadows. Observe how light wraps around the objects and use this to capture dimension.
Start by outlining each object’s basic shape. Focus on its form rather than details. Then, layer on washes of color, blending at the edges. Add shadows on the undersides of objects and wherever light doesn’t hit directly. Use a dark color like blue or purple in shadow areas and blend out towards the highlights. For highlights, leave the paper showing through or use a lighter color on top of the blended shadow color. Taking time with shadows and highlights will make objects appear lively and three-dimensional.
3. Portrait Drawing
For a beginning portrait, focus on capturing likeness through basic facial shapes before adding details. Keep features simplified with just a few basic lines and colors. Start with an oval or egg shape for the head. Draw the lines to align the eyes, nose, and mouth in the face’s center. Add hair as simple lines or blocks of color.
Build up washes of color on the face, blending at the edges of shapes. Use peach, brown, or pink pastel for skin on a brown or tan piece of paper. Add shadows under features, underneath the hair, and anywhere you observe darker areas. Leave highlights on the forehead, nose, cheeks, and chin by not applying pastels. Finish with black pastel for details like pupils, eyelashes, and eyebrows. Practice capturing expressions through simple lines around the eyes and mouth. With practice, portraits will become more realistic and detailed.
4. Animal Drawing
For beginners interested in drawing animals, choosing an accessible subject is important. Cats and dogs make great starter subjects as their shapes are simpler than other animals. Focus on breeds with short coats to avoid extremely detailed fur patterns.
When drawing animal fur, feathers, or scales, use small scrubbing motions with the side of the oil pastel stick. Apply layer upon layer in the direction the hair or feathers grow. For fur, start with short strokes at the bottom and let them gradually lengthen towards the top. Doing this creates realistic shadows and highlights. For scales, apply consistent short strokes in all directions radiating out from the center of each scale.
When drawing oil pastel colors, gently blend them with your finger where the layers meet. Leave some scales or feathers partially blended for texture. Don’t press too hard — work in layers and blend softly for a more natural look. Don’t forget to vary light and dark shades within each area to create dimension. Small animals like rabbits and hamsters are also good subjects as their smaller size is less daunting.
5. Abstract Drawing
Abstract drawings allow your imagination to run free without being constrained by realism. Oil pastels are perfect for expressing yourself abstractly through vibrant colors and textures. Some techniques to try include:
- Color Blocking: Use large sections of contrasting colors with soft edges — experiment by mixing on the page.
- Pattern Making: Create simple or complex repetitive patterns by stamping, stippling, or linear marks.
- Expression Through Texture: Rub, scrape, or layer pastels thickly in some areas and thinly in others for visual interest.
- Negative Space: Focus on the spaces between shapes as much as the shapes themselves. Play with proportions.
There are no rules — just explore combining colors, marks, and compositions in new, unconventional ways. Abstract art is about personal expression above realism.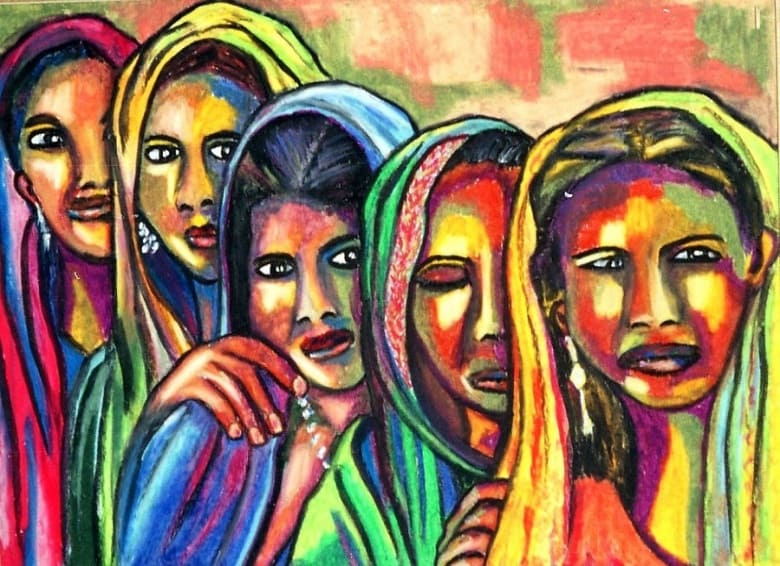
6. Cityscape Drawing
To draw effective cityscapes, start with a simple one or two-point perspective to lay out city blocks and roads receding into the distance. Use a light pencil sketch first before adding color.
Build up layers of blended and vibrant colors to depict the busy atmosphere of a city. Pay attention to contrasts like warm yellows, reds, and oranges against cool blues and grays. Use small strokes and gradations to develop textures like reflective glass, brick, or stonework. Add density and realism by layering on pigment heavily in shadow areas like alleyways.
Focus colors and details towards the foreground for visual clarity. Loosen details behind to imply increasing distance and atmospheric perspective. Bright colors popping out of shadows add depth. With bold cityscapes, oil pastels allow for luminous and lively streets bustling with rich atmosphere and activity. Beginners will find the medium very approachable to capture urban environments.
Conclusion
While oil pastels can be intimidating at first, following the simple techniques shown here will help beginners learn the basics of this versatile medium. Remember to experiment with light, blended strokes for washes of colors and harder, more defined strokes for details and outlines. Be patient as you layer colors and learn how oil pastels build up opacity over multiple layers.
With regular practice, your skills will grow as you become comfortable handling the materials. Feel free to try new subject matters and techniques beyond what we have shown here. The possibilities with oil pastels are endless — landscapes, still lifes, portraits, and more can all be achieved. Before long, you’ll be creating your own stunning oil pastel art to proudly display anywhere you want!